
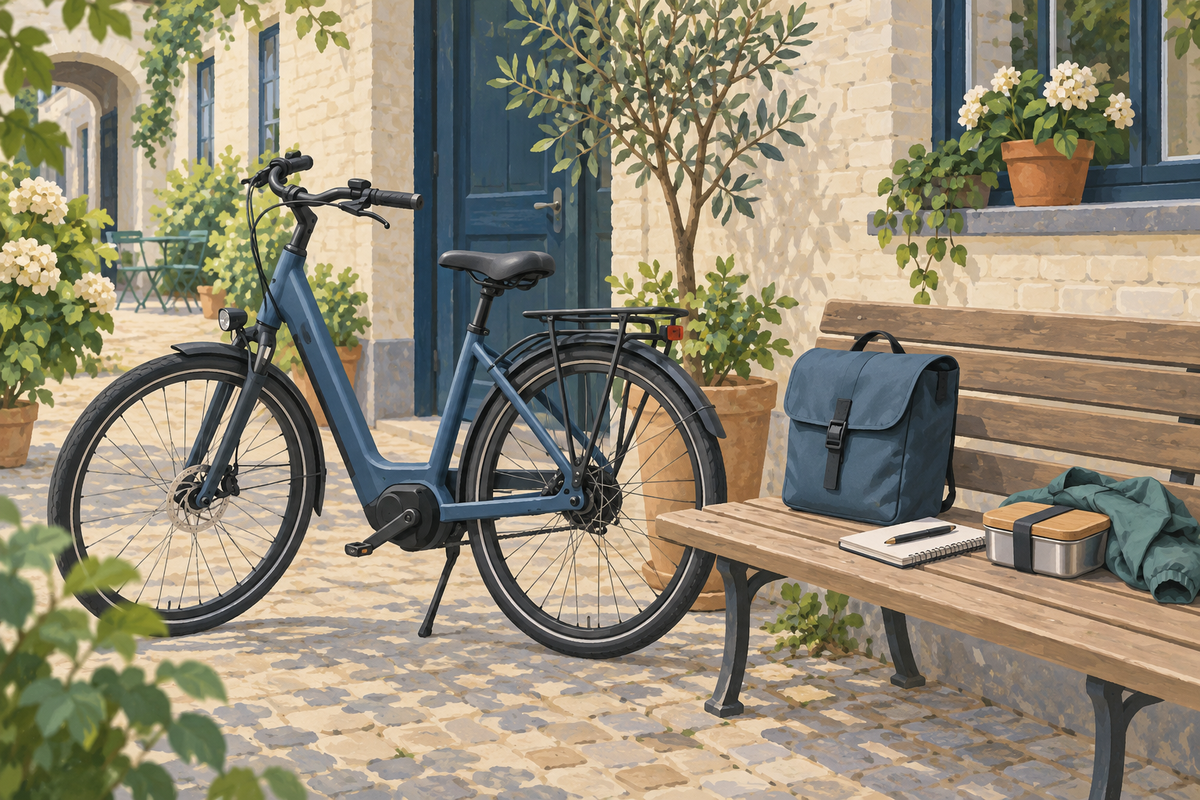
A pannier fits your e-bike only when its mounting system suits the rack, the loaded bag stays clear of the rider and bicycle, and every applicable load limit is respected. A rear rack is a useful starting point, but it does not make every pannier compatible.
Before ordering a bag for your commute, put the bike and the bag's specifications side by side. This guide focuses mainly on detachable, hook-on rear panniers. Strap-mounted double bags and proprietary docking systems need their own instructions; they should not be judged by a hook-on bag's measurements.
Choose the mounting system before the colour or capacity
Find the bag's full model name and mounting-system version. Look for the manufacturer's instructions and a clear picture of the back panel. Two similar-looking bags can attach differently, and a rack-top platform or battery housing may leave less room than a side photograph suggests.
ORTLIEB's Quick-Lock overview distinguishes several systems, including versions with hooks on the bag and a system with mounting components on the rack. The brand name alone therefore does not identify the fit requirements. Use the instructions for the exact version you would buy.
Build a short record: bag model, mounting system, rack model if known, and the dimensions the bag maker asks you to check. If the rack has no readable model marking, include the bike model and clear photographs when asking for help.
Check where the upper hooks will actually sit
For a hook-on pannier, inspect the intended mounting rail rather than measuring the whole rack platform. Record its tube size and shape, the usable straight section, and any stays, joints or fittings occupying the proposed hook positions. Compare those details with the selected system's specification.
As an example of why the exact model matters, Basil specifies its Hook-On System Sports replacement hooks for 10–12 mm carrier tubes. That is a component-specific range, not a measurement of a TTGO rack or a recommendation to fit those hooks to another bag.
If a manufacturer lists alternative hooks or inserts, ask which approved combination is required. Do not assume that a hook which can be pushed over a rail has the right fit or can close correctly.

Find the lower restraint and leave room for your feet
The lower attachment is part of the mounting check. The KLICKfix Universal Rail instructions explain that the lower catch limits sideways movement, and that the bag needs enough space from the pedals. Upper hooks catching the rack do not complete that assessment.
Compare the bag's lower mounting arrangement with the rack's stays. Confirm that all required retaining parts can engage as instructed. Then assess the bag position with your usual riding shoes and pedalling position, using a secure, supported fitting check. Ask a dealer to help if the bicycle or bag is difficult to hold safely.
Moving a bag rearwards may change where its hooks and lower restraint meet the rack. Treat the position as a complete adjustment, not a single solution for heel contact. If the required settings cannot provide both secure retention and enough space, choose a different approved combination.

Repeat the check with what you normally carry
A bag's useful shape is the shape it has with your lunch, lock, clothing or work equipment inside. An empty side panel can sit neatly while packed contents make it bulge into a gap.
Extrawheel's fitting guidance calls for checking the mounting again under load and keeping the bag clear of the wheel, brakes, mudguards and cables. It also identifies battery-lock access, removal mechanisms and rear-light visibility as e-bike checks. Use these questions when assessing your own arrangement; a generic photograph cannot confirm the clearances.
If your battery is removable, establish whether the pannier must come off first and whether that works for your daily routine. Follow the bike's instructions for battery handling. KLICKfix's Vario E Hook illustrates why this space matters: its short-hook design addresses carriers with integrated batteries or spring clamps. It is not a universal TTGO compatibility approval.
Keep any carrying strap and loose ends secured as the bag's instructions require, with no part able to reach a wheel or drivetrain. Include that check when you practise removing and refitting the bag.
Keep litres and kilograms in separate columns
A bag's volume tells you about space for belongings; it does not tell you how much weight your rack can carry. Weigh the bag with the items you intend to take, then check how each manufacturer's limit is defined.
The ORTLIEB QL2.1 data sheet explicitly separates the pannier fixation allowance from the rack's limit and recommends weighing loaded panniers. Apply the ratings for your own bag, rack and bicycle. Do not transfer a limit from a different mounting-system version, or treat the bicycle's total maximum load as the rear rack's cargo allowance.
Record whether a figure applies to one bag, a pair, the whole rack or the complete bicycle. Include the items counted by the relevant manufacturer's definition. If a rack rating is unavailable, ask for it before deciding how much shopping or equipment to carry.

A TTGO example: what the C7 SE photo can show

The TTGO C7 SE in Light Yellow provides a real city-bike example. Its product photograph shows a rear rack above the mudguard and a rear light. Those details help identify the areas you need to inspect, but the photograph does not establish tube dimensions, the rack's separate load rating or compatibility with a particular pannier.
Before buying a bag for this model, send TTGO support the exact bag and mounting-system details, together with the rack information you have. Ask for any missing dimensions and load guidance. For the wider decision about everyday access and carrying belongings, our step-through commuting guide covers the bicycle choice.
Finish with a repeatable daily routine
Once the combination is confirmed, practise fitting and removing the bag using its instructions. Before each ride, check that the required locking and retaining parts are secure. Make sure you can carry the bag comfortably into work and reinstall it without guessing the settings.
Your final record should answer four questions: does it attach correctly, does the loaded shape leave enough space, are the relevant ratings satisfied, and can you use the bike's everyday features? A clear answer to each is more useful than a broad “fits most e-bikes” description.
Information checked 14 October 2026. Manufacturer examples explain the checks; no named third-party bag has been tested or approved here for a TTGO model. Images include generic AI-generated illustrations and an original TTGO product photograph.
Share:
How to Read E-Bike Tyre Sizes Before Buying a Replacement